Logging in to SharePoint
You can log in to SharePoint via the home page for the service.
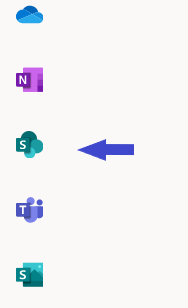
You can also get to this page through your Office account. On the left-hand side of the home page, there is a column of icons. Select the one with the three green circles and the small “S”.
File management
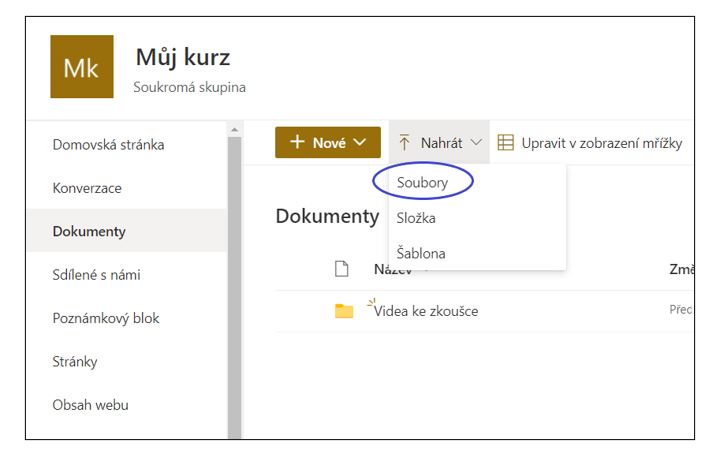
We will first show you how to upload your own files. On Share point’s home page, select the group (“web”) in which you want to manage the files. In the left-hand side menu, select “Documents”, and in the upper drop-down menu, select “Upload” → “Files”. Then select any file from your computer. Using the button “New”, you can create another folder or a completely new document.
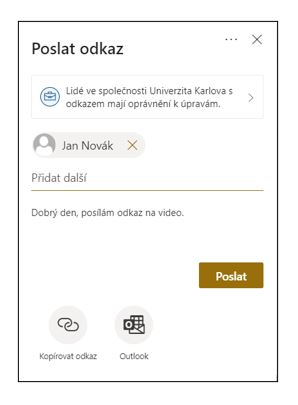
After uploading, two icons appear in the file bar – one for sharing and three dots for displaying the action. When you click on sharing, a window appears for selecting the person you want to share the file with and also the options for acquiring a link to the file or for sending it by e-mail. The accessibility level for the link can also be selected above the name of the addressee.
The action display button then offers a number of common tasks for managing files, such as downloading, renaming, copying, or deleting. The “Details” at the very end of this menu opens a useful overview of the properties of the file.
Managing your files
In each folder that you are allowed to edit, you can add information storage labels to files and folders via the action display button and “Details”. These are centrally created labels that give your file certain properties – either protecting it from deletion or modification or ensuring that the file is deleted after a certain period of time. You can assign information storage labels in the details window that opens when you click on a file or “Display actions” → “Details”.

The label “Exam Material” is created for the evaluation of works submitted by students. Adding this description will prevent the author of the file from deleting or modifying it. It will be kept in its location for two months, after which time it will be automatically deleted. If you use a label for an entire folder, all the files in it will be automatically secured.
For example, the author will see the following message when attempting to delete a video:
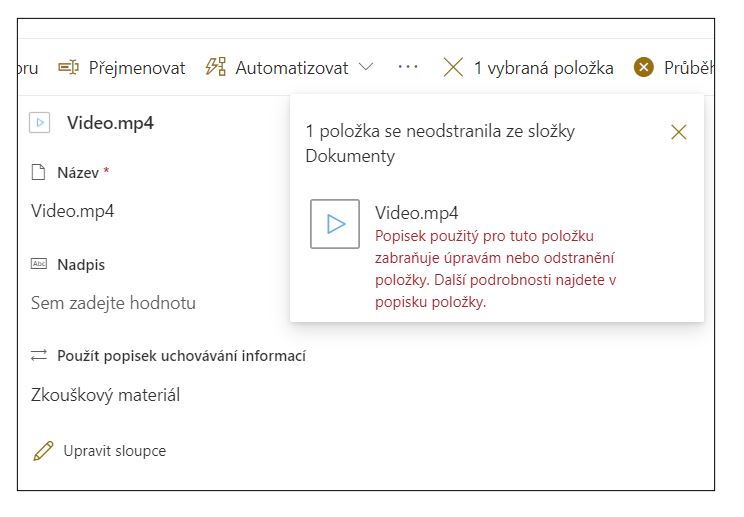
In emergency cases, files deleted in this way can still be recovered for a period of three months. However, be careful. When removing the label, the file can be deleted once again! The “Exam Material” label can only be removed by the group owner or administrator.
In practice, these labels are useful for providing videos with assignments submitted by students. Thanks to these, SharePoint offers sufficient time for the evaluation and inspection of materials in a secure university repository, which provides sufficient space even for large video recordings. For more details relating to information storage labels, click here.
Collecting videos from students
It follows from the above that you must get students to upload videos to Sharepoint and attach storage information labels. This can be achieved in several ways. First of all, you can create a folder with the label “Exam Material” which you will invite students to upload via the “Manage Access” button. In the next menu, you can set access for specific people or send students a link to the folder by e-mail.
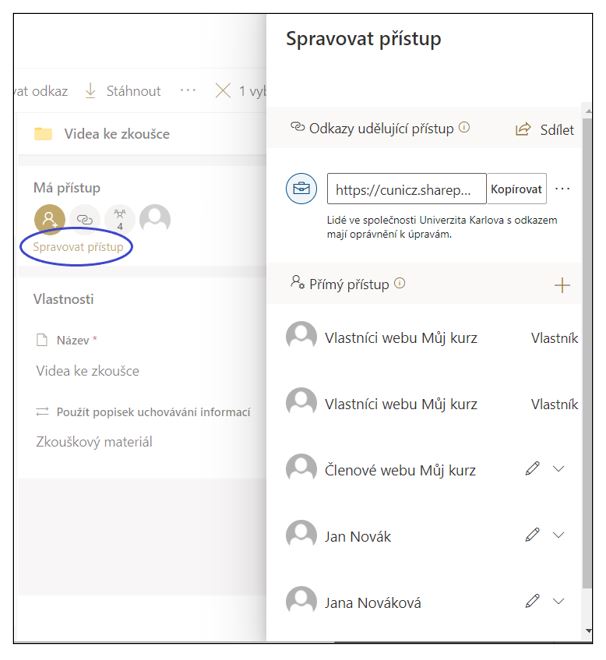
Sometimes it is also necessary to ensure that students do not see the submitted videos of their classmates, so they do not copy them or due to data protection. Therefore, you can instruct them to restrict access to their uploaded video only to themselves and the group/site owner in the permissions menu above.
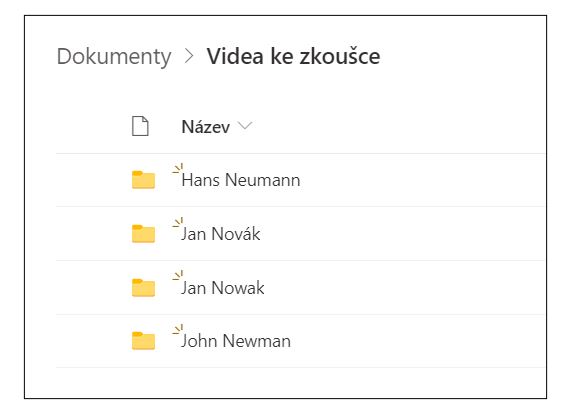
A more reliable solution is to create for each student their own folder to submit and to invite them individually. However, this takes longer with a larger number of students.
If you have done everything correctly, you will have two months for evaluation after collecting the videos, after which time, the students’ files will be deleted automatically from your SharePoint.
Should you have any difficulties, please contact support at teams-podpora@cuni.cz.


