


Logging in to MS Stream
You can log in to MS Stream via the home page for the service.
You can also get to this page through your Office account. On the left-hand side of the home page, there is a column of icons containing the red Stream arrow. If you do not see this, click on the last black-and-white icon (see image) and select Stream from the drop-down menu.
You may also use the following instructions to log in to Office 365.
Uploading videos
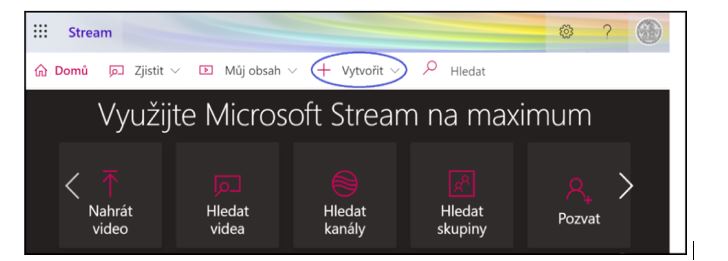
After logging in, you will be redirected to the MS Stream home page with options for managing the streaming service, On the upper menu, click on “Create” → “Send video”.
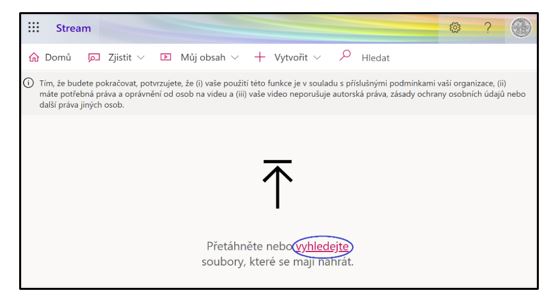
Click on “Search” or drag the video from the current location, and the file will begin processing.
Adding the video parameters
After processing, you will be prompted to add information about the video.
- Details – name, description, language, and thumbnail preview for the video
- Permission
- Allow all users of Charles University to view this video (default setting)
- Sharing – here you can set sharing with another person in the organization or specify another owner of the video
- Options – setting commentaries (default setting), noise reduction, and subtitles
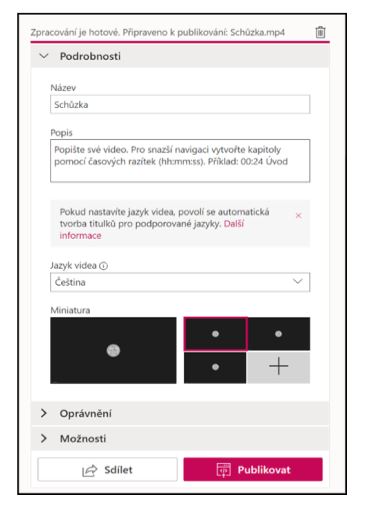
Then you can click on “Share” at the bottom of the page. A link to the video location will appear that can be sent to other people in your organization. On the “Insert” tab, you can also get the HTML code used to place the video on your website. Click “Publish” to publish the video. If you leave the screen instead, the entire video will be saved as a draft in your personal MS Stream.
Only authorized people may view the video. MS Stream does not support here external sharing for guests or people outside the organization (Charles University).
Managing your videos
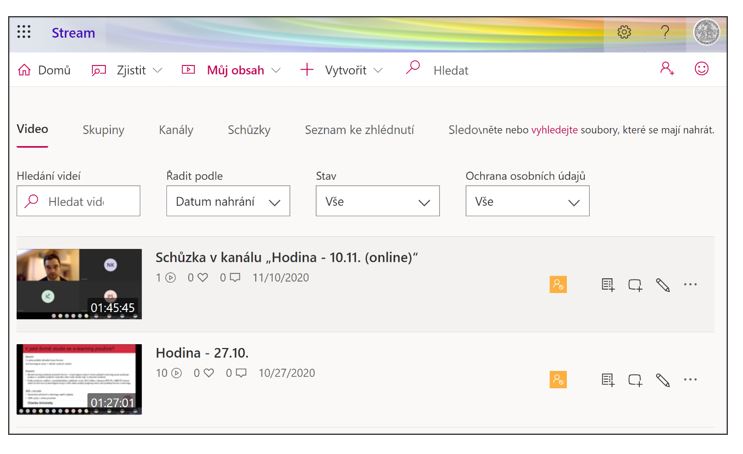
You can manage your video via “My content” → “Video” in the upper menu on the home page.

In this environment, you can search your personally inserted videos, and using the subsequent options, you can continue to work with the videos (edit, distribute, etc.).
Using videos from MS Stream in other applications
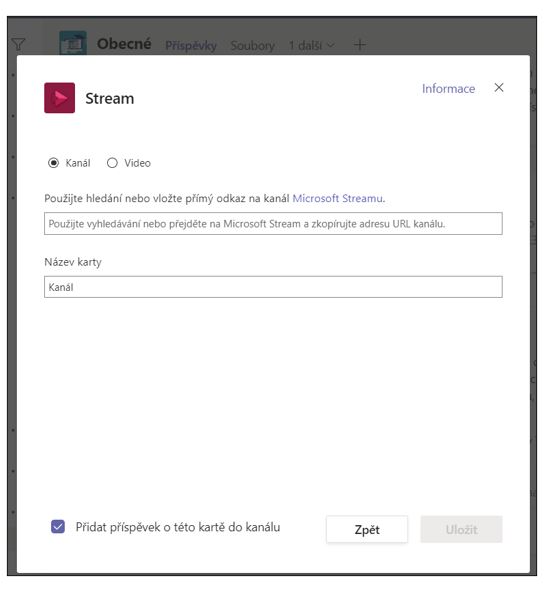
MS Teams – For easy video viewing, you can create an MS Stream tab in the group by clicking on the “+” button in the upper menu. The tab displays either the selected channel or the video.
LMS Moodle – You can freely insert a link to a video in MS Stream into the course (e.g. in a module created by the instructor or as an outcome of a student’s work). However, LMS Moodle is not integrated with Office 365 applications, so after clicking, the video opens in the MS Stream window where you are prompted to log in. For creating study aids in LMS Moodle, you can use the instructions here.
The official Microsoft instructions for inserting MS Stream videos into other applications can be found here.


