


This procedure will help you create a meeting in MS Teams to prevent the participation of uninvited guests and trolling when an uninvited student joins the room without your knowledge and starts sharing inappropriate content. When sharing the link for a meeting, please explain to students that they must log in to MS Teams using their personal number in the form číslo_osoby@cuni.cz and then using their CAS login details. (This option may also be used for faculty accounts. The cuni account is also used in the instructions).
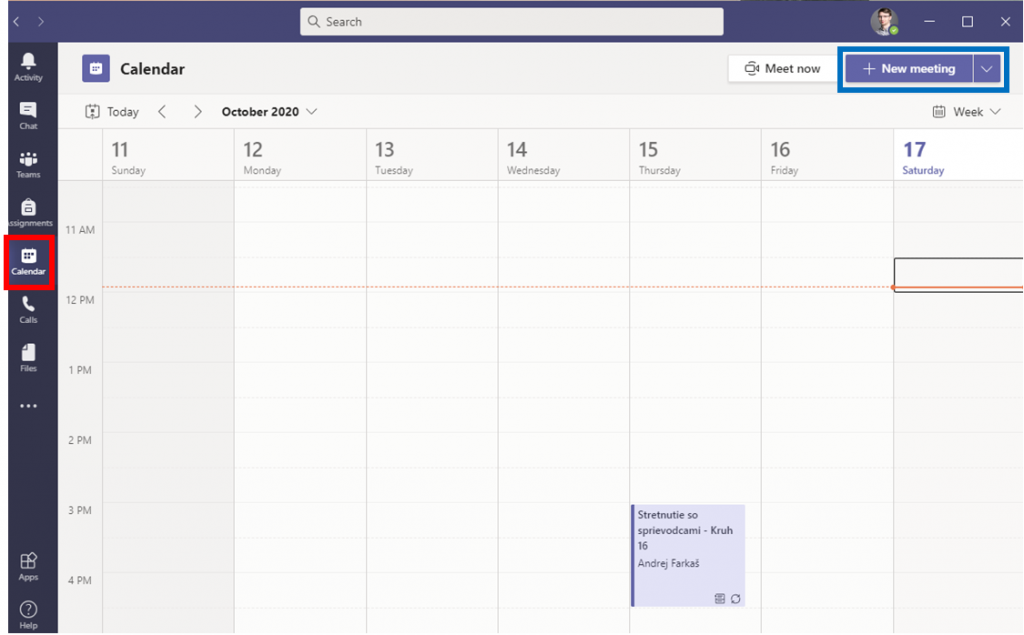
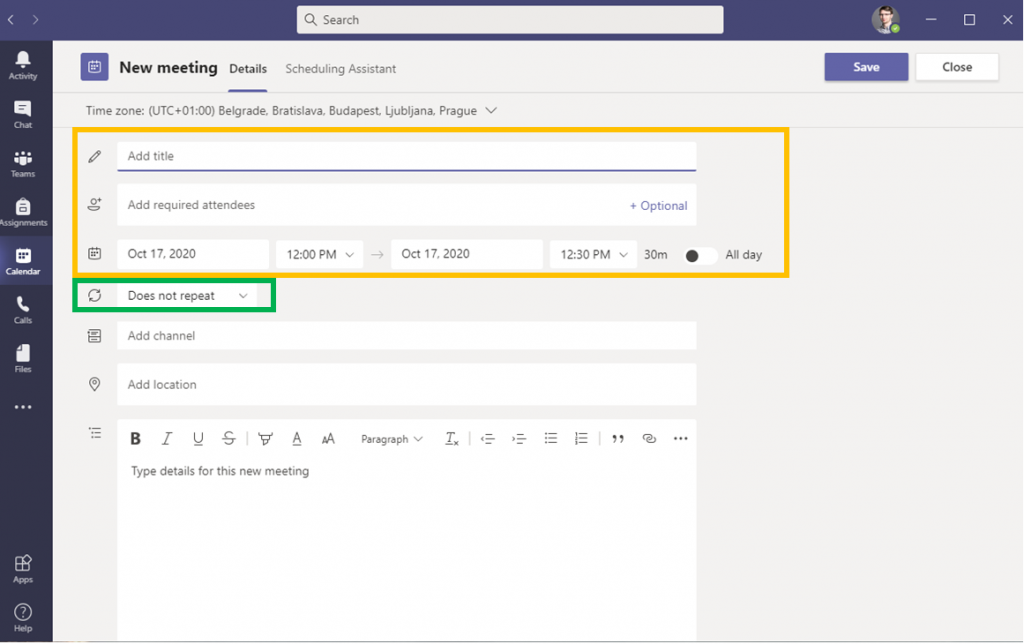
Use the following steps to plan secure meetings in MS Teams: Click on Calendar (red) and then on the New Meeting button (blue). Fill in the name, date, and time of the meeting and add at least one participant, e.g. the secretary (yellow). If it is a regularly scheduled meeting, select one of the options from the drop-down menu (green). Then click on Save.
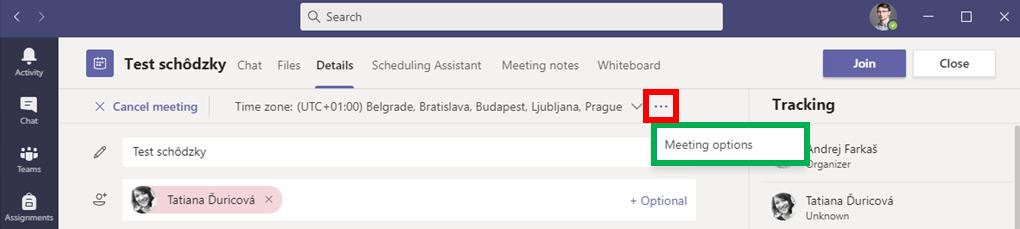
2. You can find the created meeting in your MS Teams calendar. When you click on Calendar again and on your created meeting, you have the option to edit the meeting. Click on the three dots (red) and select Meeting options (green). You will be redirected to the web pages containing additional options.
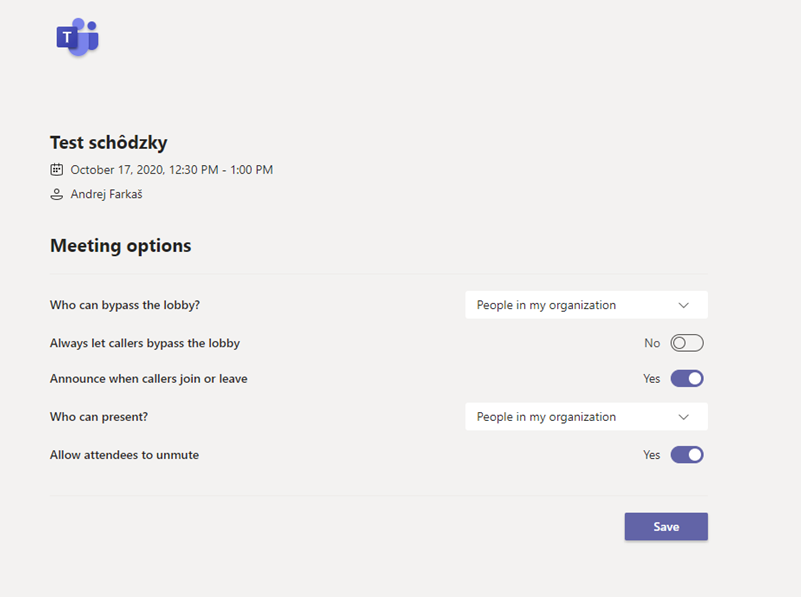
For the first option Who can bypass the lobby?, select People in my organization. The only students who can access your meeting without your permission are those logged in via their cuni account číslo_osoby@cuni.cz and also using the CAS access data.
Make sure that the option Always let caller bypass the lobby is in the No position.
For the option Who can present?, select Only me. When you use this setting, only you can share the screen. If students also need to share their screens, you as the organizer can assign or remove these rights for any of the participants at any time during the meeting by right-clicking on the participant. To save changes, click on Save.
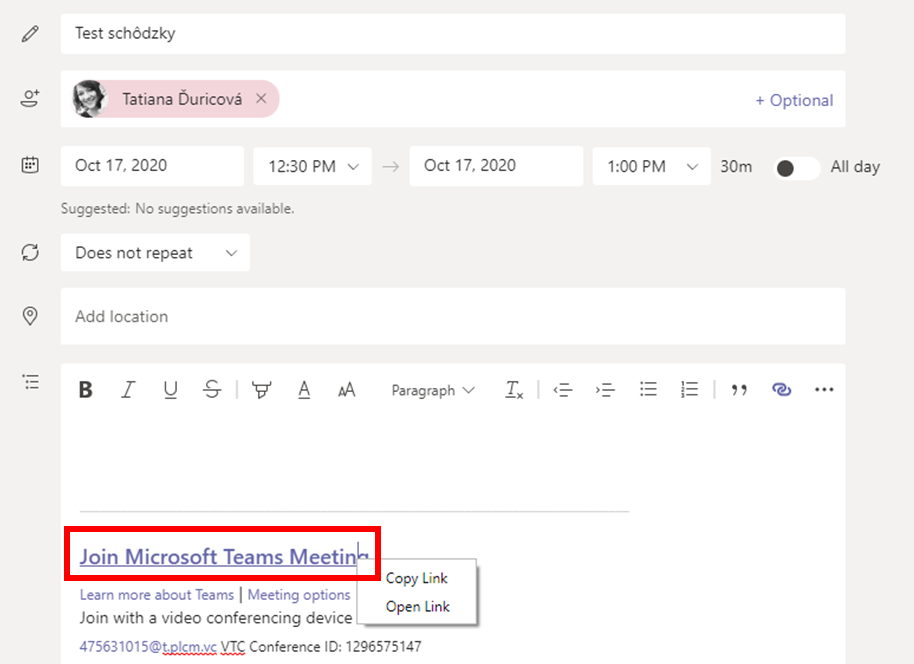
3. Your room is now prepared for online instruction, and students can log in using the link that you copy when opening the details of the meeting in the calendar by right-clicking on the text (red) and the option copy link.
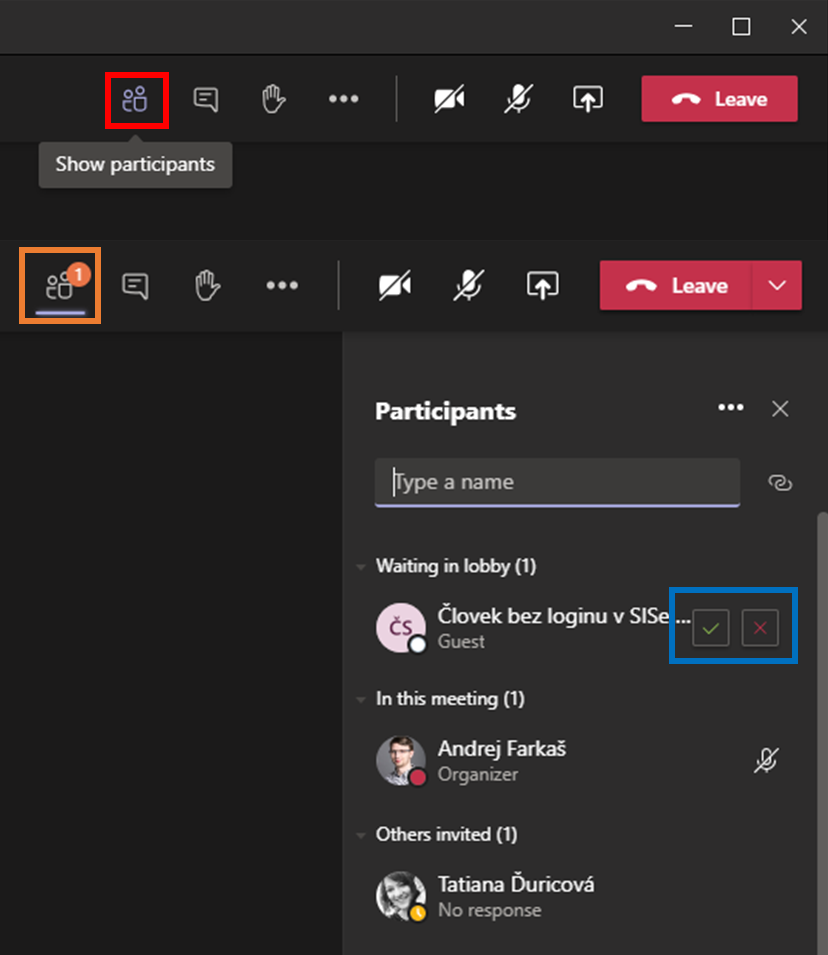
4. When clicking on the link, students enter the Lobby. The logged-in students are displayed by clicking on the icon Show participants (red). If someone joins without logging in using the cuni account osobní_číslo@cuni.cz and the CAS password, you will get a warning from the participants icon (orange). This person is displayed in the panel of participants, and you can grant this person access or refuse their access to the lecture (blue).
You do not need to confirm correctly logged-in students on the desktop or mobile application. This will happen automatically based on their login using the cuni account osobní_číslo@cuni.cz and the CAS password. In this way, you can prevent unwanted discourse from participants, i.e. if one of the students would like to disrupt the lesson, they can be easily identified with their name and personal number.


